How To Bypass A Micro USB Charging Port?
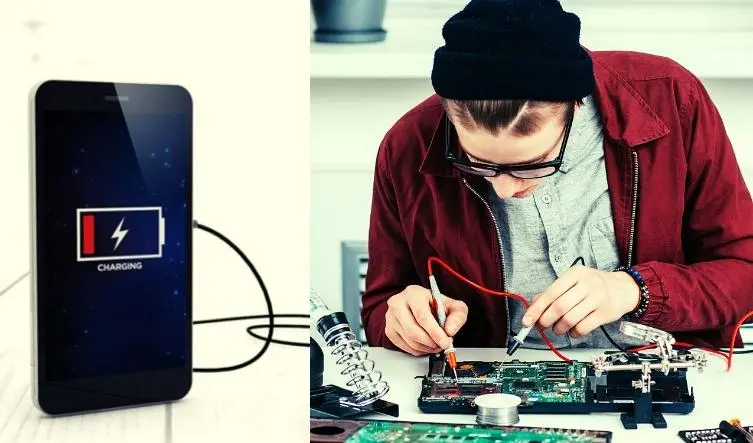
You know how frustrating it can be if you’ve ever had trouble charging your device because of a broken charging port.
Not only is it annoying to not be able to use your device the way you want, but it can also be expensive to go out and buy a new one.
By following the simple instructions in this article, you’ll be able to bypass your micro USB charging port and get your device up and running again in no time.
Guide To Bypass Micro USB Charging Port

As with any device repair, the first step is to make a backup copy of the files and transfer them to another device before bypassing the micro USB charging port. Next, we will open the mobile device by turning it off. It makes sense to use a small amount of heat from a special iron to facilitate the opening and remove the frame piece by piece from the back.
Once the back cover has been completely removed, we must carefully remove the sticker covering the battery and the remaining motherboard connections. To avoid problems, we can then proceed to disconnect the battery. We’ll use non-conductive plastic tools to complete all of this.
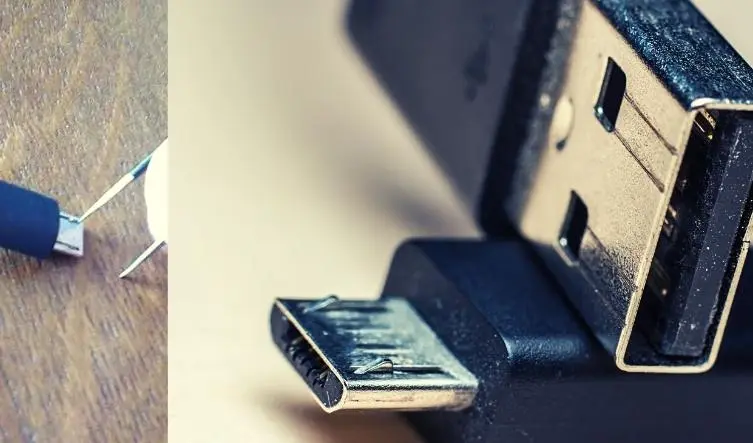
The motherboard is typically located directly above the battery. The most vulnerable time starts when we have disconnected all of the flexes. We also need to take out the USB input connector, soldered to a small plate that is removed with the aid of screws. We will need advanced tools and patience to remove the connector because it can be attached to the plate.
After removing it, we must clean it as thoroughly as possible, removing all traces of the prior weld. It will soon be time to solder the new USB input onto the board. To successfully fix the mobile USB, we screw the small board and reconnect everything to the motherboard.
Before fixing the back cover with glue that prevents it from opening and water can enter, we will need to be careful not to forget to connect anything and test it, even though its protection won’t be as good as the original.
How To Bypass A Tablet Charging Port?
In this section, let’s see how to bypass a tablet charging port. A 12-pin socket on the main PCB of the tablet connects the battery via numerous wires. All 12 of these pins are visible on the side of the PCB. The other four are typically thermal and other types of sensors.
Solder two thick cables to at least three of the connections for the positive (RED) and another three for the ground using solder paste. Do this after disconnecting the battery (BLUE cable). The charging PCB may be connected to the BAT (RED cable) and GND with the other ends of the wires (BLUE cable).
You must test the connections between GND on the charging PCB, other ground connections on the tablet, and the BAT connection using the connection of the 12-pin socket. At the same time, the multimeter is in the short circuit testing position.
After that, reattach the charger and battery. The battery voltage could be measured in DC using a multimeter, and it will start to increase from 3.5V while the LED on the PCB board is red. The green LED will appear on the following morning after being charged overnight. Then the tablet will function properly once you turn it on.
How To Solder Micro USB Ports?

Open the soldering flux bottle and wet a toothpick. Wet each mini USB soldering pad with a toothpick. Then Install a mini USB jack. Solder flux should dry and be sticky. This holds the mini USB jack while soldering the first foot. Mini USB jack pins must match PCB pins. Align the feet ‘ pads. Let 15 to 20 minutes heat the 15-Watt soldering iron.
Solder the wire and iron. Gently lower the soldering iron tip over a mini USB port jack’s feet, ideally near the open socket end. Then heat the tip for 5 seconds. Lower the solder wire tip to the iron’s foot. Just enough solder should flow to cover the foot and circuit board pad. Solder the other foot after 2 minutes.
Wait two minutes before soldering the final two feet of the mini USB port jack. Solder the mini USB jack’s five rear pins, waiting two minutes between each. Solder pins’ feet at a 45-degree angle. Heat each pin foot for 5 minutes. Touch the solder wire tip to the pin foot and circuit board pad.
Once solder flows, lift the solder wire. Solder remaining feet and avoid pin pads. The bare circuit board must be between soldered pins. Remove solder splatters between two rear pins. To remove the solder splatter, use a sewing needle. That’s how to solder a micro USB port.
How To Fix Loose Micro USB Ports?
First, check the port for debris or lint before fixing the loose micro USB port. When the micro USB port on your device becomes shaky or loose, this is one of the most obvious things to check. All that must be done to resolve this issue is to eliminate any debris or lint lodged in the port.
To fix loose micro USB ports, use epoxy glue or super glue. Add a tiny drop of hot, epoxy, or superglue to a toothpick. Put the drops carefully on either side of the micro USB port. Spread it inside the USB port and give it 10 to 15 minutes to dry. Insert the cable t To test if your USB cable is functional.
There are many kinds of issues that occur in USB ports when using devices. Damage or not working ports are some common issues. However, you can bypass a micro USB charging port without a technician’s support. You may need only some tools to do so.