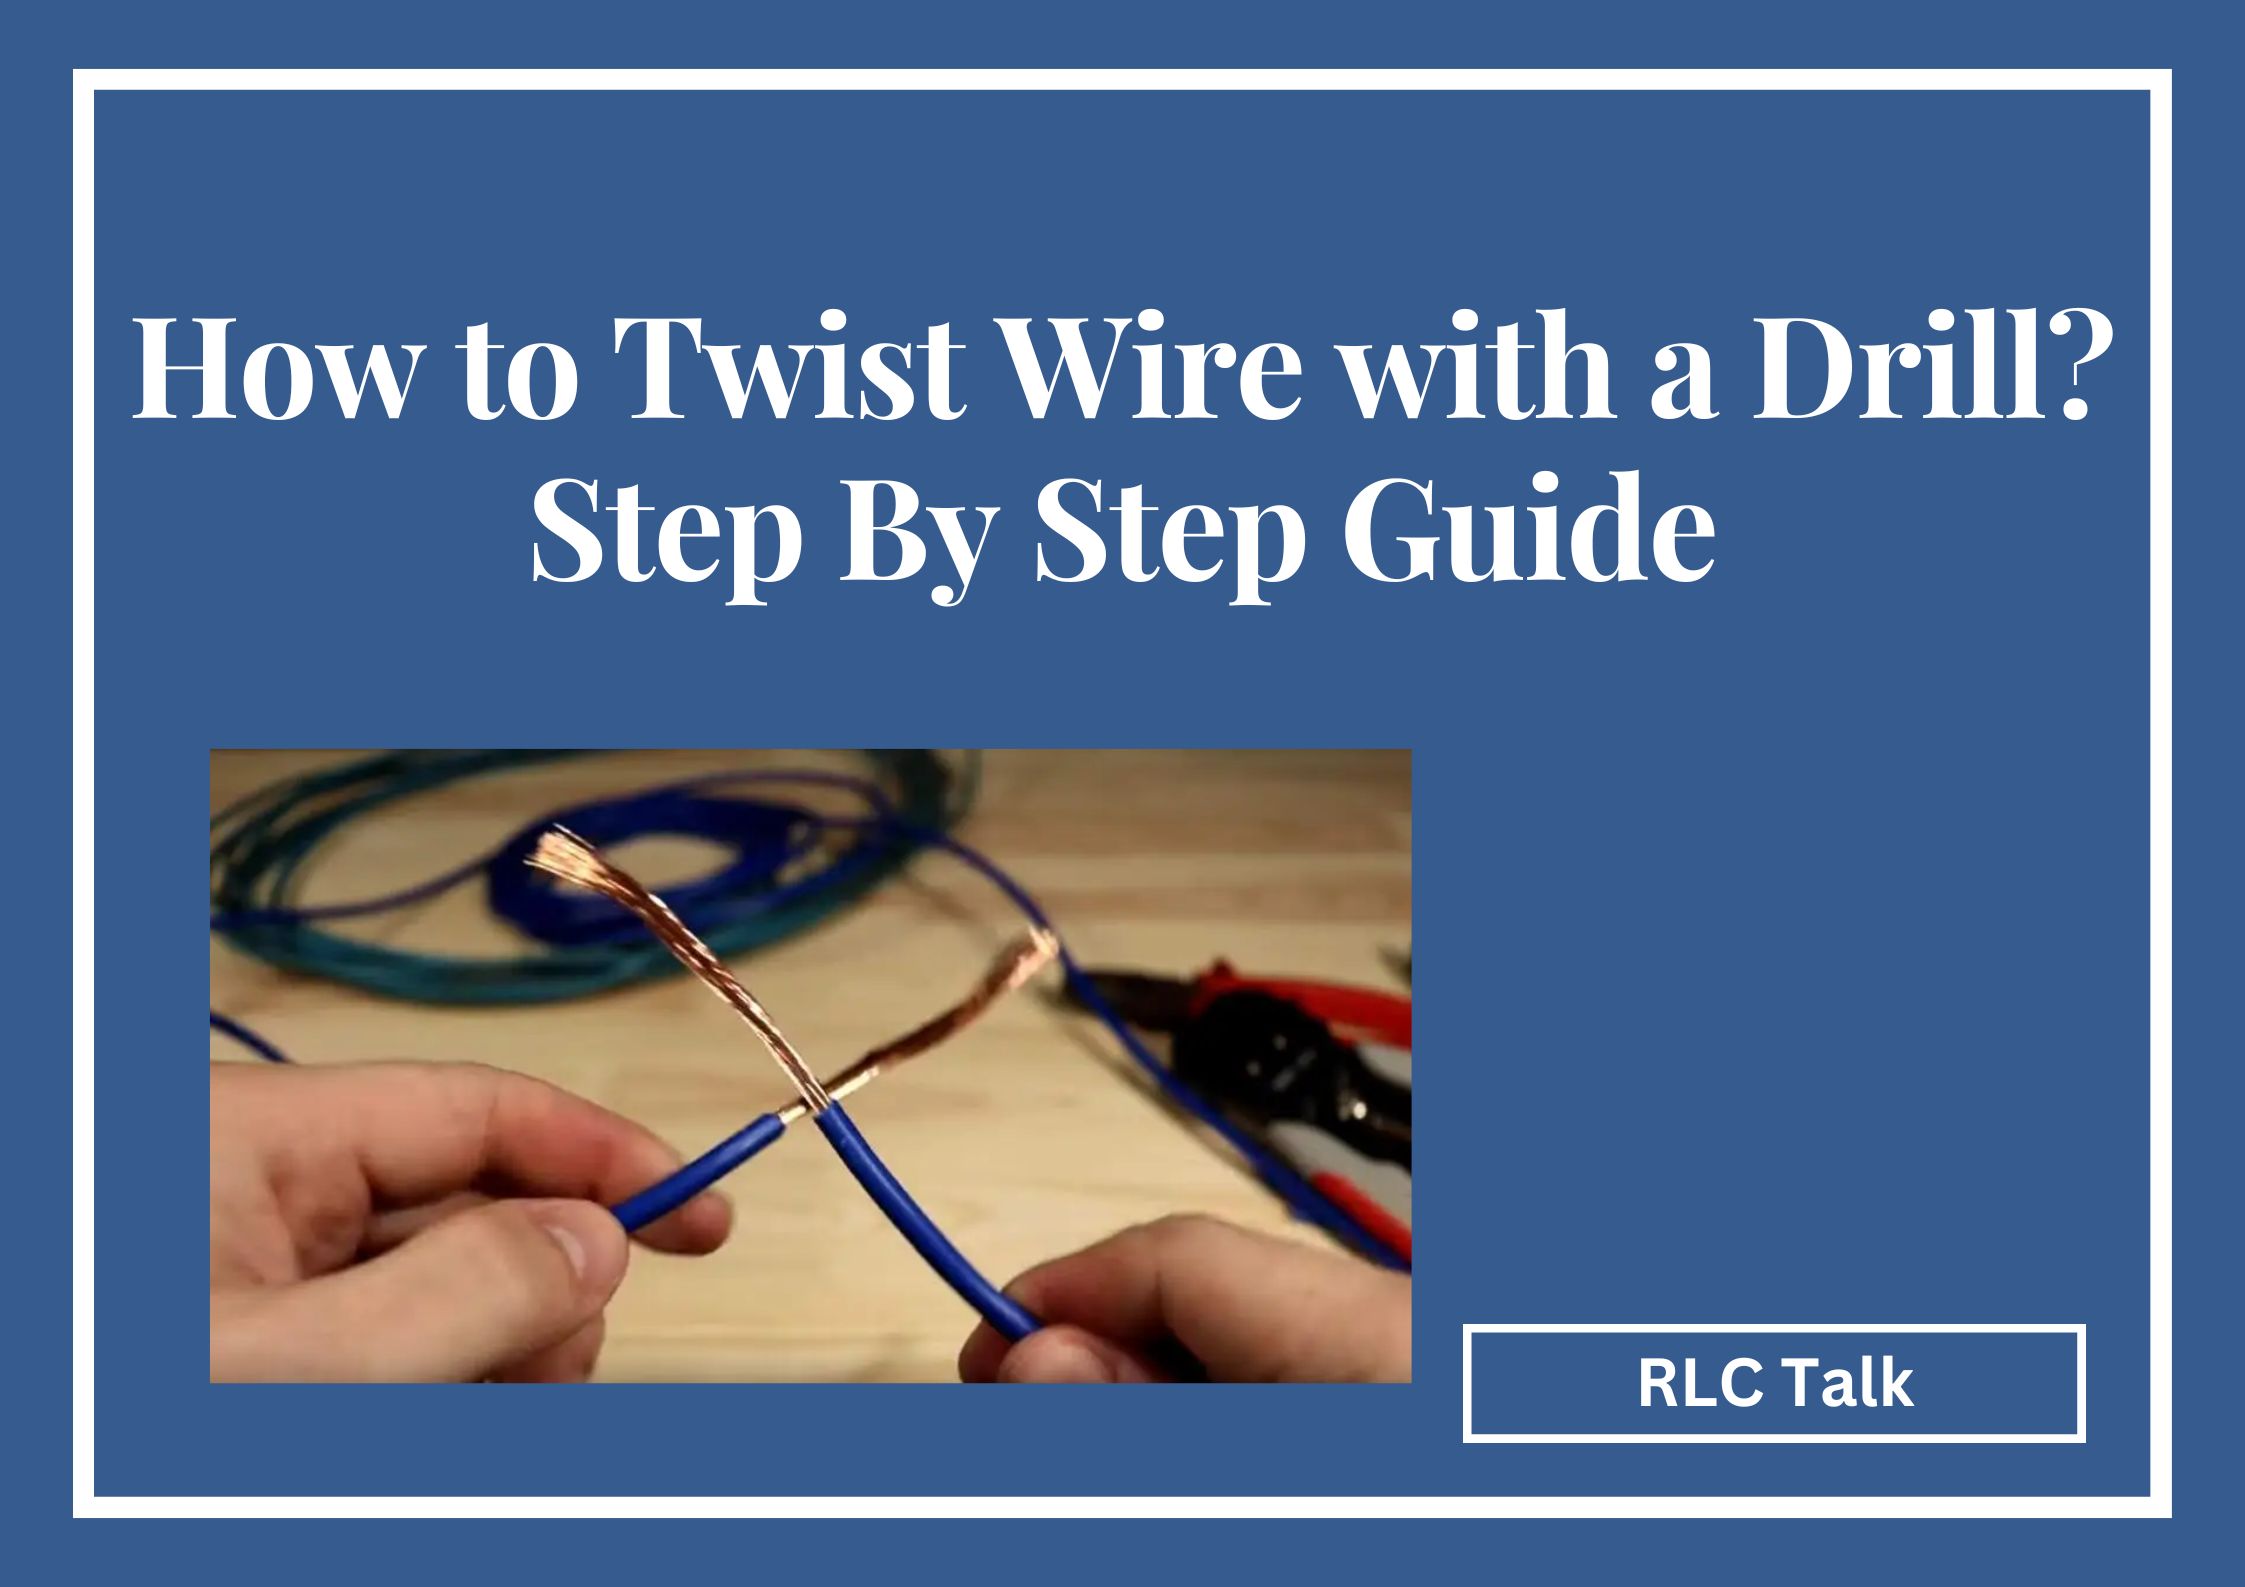
How to Twist Wire with a Drill? Step By Step Guide
Wire twisting plays a crucial role in creating secure and reliable connections in electrical projects. Traditionally, wire twisting was done manually, but with the advent of technology, using a drill for wire twisting has become a popular and efficient method.
In this article, we will explore the process of wire twisting with a drill, its benefits, and the necessary steps to achieve successful results.
What is Wire Twisting?
Before delving into the specifics of using a drill for wire twisting, it’s important to understand its purpose and benefits. Wire twisting involves intertwining two or more wires to create a cohesive and conductive connection.
This technique offers several advantages, including enhanced electrical conductivity and increased mechanical strength. By twisting the wires together, you reduce the risk of loose connections and ensure a more secure and reliable electrical setup.
Different types of wires are suitable for twisting, and understanding their characteristics is important for successful wire twisting.
- Solid wires
Solid wires consist of a single solid conductor commonly used in household wiring.
- Stranded wires
Stranded wires, on the other hand, are made of multiple smaller strands twisted together, providing flexibility and durability. Different wire gauges are used for various applications, so selecting the appropriate wire gauge for your specific project is crucial.
How to Twist Wire with a Drill?
Select the right drill and attachments to perform wire twisting with a drill. Choose a drill suitable for wire twisting, ideally with adjustable speed settings and a comfortable grip. Additionally, you will require wire-twisting bits or attachments designed explicitly for twisting wires.
Before twisting the wires, you need to prepare them properly. Start by stripping the insulation from the ends of the wires using a wire stripper. This exposes the conductive part of the wire, ensuring a proper electrical connection. Once the wires are stripped, align and position them together, ensuring they are straight and parallel.
3 Wire Laptop Charger Wire Colors; No More Confusions
rlc talk
Performing Wire Twisting with a Drill
Now it’s time to use the drill for wire twisting. Secure the wires in the drill chuck, ensuring they are held firmly but not excessively tightened, as this can damage the wires. Maintaining stability and preventing wires from tangling or coming loose during twisting is essential.
- Activate the drill, starting at a low speed, and gradually increase the speed as the wires begin to twist together.
- Monitor the twisting process closely, making adjustments as needed to ensure the desired level of twisting.
- It’s important not to apply excessive force or spin the wires too quickly, as this can cause the wires to break or become damaged.
Finishing and Insulating the Twisted Wire
Once the desired level of twisting is achieved, it’s time to finish the twisted wire. Trim any excess wire beyond the twisted section using wire cutters to create a clean and neat finish. Remove any sharp edges or protruding wires that may pose a safety risk.
To ensure electrical safety, apply insulation to the twisted wire. Choose appropriate insulation materials, such as heat shrink tubing or electrical tape, and carefully cover the exposed twisted section. Insulation protects the connection and prevents potential short circuits or electrical hazards.
Current Events: Can a Ground Wire Shock You or Just Electrify Your Life?
rlc talk
How to twist wire by hand?
To twist wires by hand, follow these steps:
- Strip the insulation: Use wire strippers to remove a small section of insulation from the ends of the wires you want to twist together.
- Hold the wires: Take the stripped ends of the wires and hold them together side by side between your thumb and forefinger.
- Begin twisting: While maintaining a firm grip on the wires, start twisting them in the same direction using your fingers. Continue twisting until the wires are tightly intertwined.
- Trim excess: Once the wires are twisted together, use wire cutters to trim any excess wire sticking out beyond the twisted section.
Note: For more precise and secure wire twisting, consider using a wire twisting tool or a pair of pliers designed for that purpose.
How to twist the electrical wire with pliers?
To twist electrical wire with pliers, follow these steps:
- Strip the insulation: Use wire strippers to remove a small section of insulation from the ends of the wires you want to twist together.
- Hold the wires: Take the stripped ends of the wires and hold them together side by side between the pliers’ jaws, leaving a small amount of exposed wire beyond the jaws.
- Grip the wires: Firmly grip the pliers around the wires, ensuring a secure hold.
- Twist the pliers: While maintaining a strong grip on the pliers, rotate them in the same direction, twisting the wires together. Apply steady pressure to ensure a tight and secure twist.
- Inspect the twist: Once the wires are twisted together, visually inspect the twist to ensure it is tight and secure. Adjust if necessary.
- Trim excess wire: Use wire cutters to trim any excess wire sticking out beyond the twisted section.
Note: It’s important to use the appropriate type and size of pliers designed for wire twisting to ensure a secure and safe connection.
How to twist three electrical wires together?
To twist three electrical wires together, you can follow these steps:
- Strip the insulation: Use wire strippers to remove a small section of insulation from the ends of all three wires you want to twist together.
- Hold the wires: Take the stripped ends of the wires and hold them together side by side. Arrange the wires so they form a neat bundle with the ends aligned.
- Use pliers: Grab a pair of lineman’s pliers or needle-nose pliers with a built-in wire twisting feature. Place the pliers around the wires, ensuring they are positioned close to the stripped ends.
- Start twisting: Apply firm pressure to the pliers and start rotating them in the same direction to twist the wires together. Make several rotations until the wires are tightly intertwined. Ensure that each wire is properly included in the twist.
- Inspect the twist: Once the wires are twisted together, visually inspect the twist to ensure it is tight and secure. Adjust if necessary.
- Trim excess wire: Use wire cutters to trim any excess wire sticking out beyond the twisted section.
It’s essential to ensure the connections are secure and the twisted wires are properly insulated to prevent potential electrical hazards.